ASME B18.2.3.9M pdf download
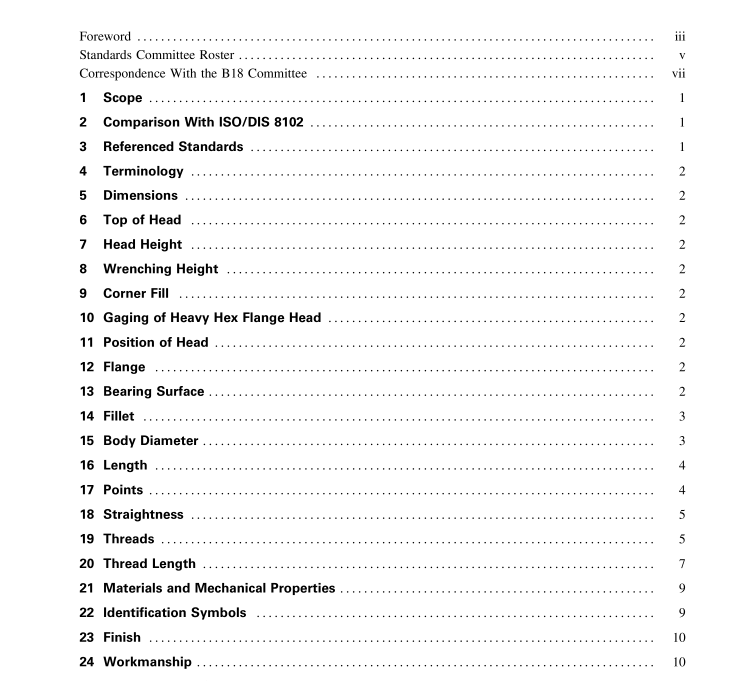
ASME B18.2.3.9M pdf download ASME B18 STANDARDS COMMITTEE Standardization of Bolts, Nuts, Rivets, Screws, Washers, and Similar Fasteners
4 TERMINOLOGY
For definitions of terms relating to fasteners or fea- tures thereof used in this standard, refer to ASME B18.12.
5 DIMENSIONS
(a) All dimensions in this standard are given in millimeters (mm), and apply before any coating, unless stated otherwise.
(b) Symbols specifying geometric characteristics are in accord with ASME Y14.5M.
6 TOP OF HEAD
The top of head shall be either full form or indented at manufacturer’s option, and shall be either chamfered or rounded. The diameter of the chamfer circle or start of rounding shall be equal to the maximum width across flats, S maximum, within a tolerance of −15%. If the top of the head is indented, the periphery may be rounded.
7 HEAD HEIGHT
The head height, K, is the distance, parallel to the axis of the screw, from the plane of the bearing circle to the top of the head, not including any raised markings. See para. 22.
8 WRENCHING HEIGHT
The wrenching height, K w , is the distance at a corner of the hexagon from the junction of hex head with the flange to the last plane of full-formed hexagon (i.e., the plane closest to the top of the head at which the width across corners, E, of the hexagon is within its specified limits).
9 CORNER FILL The rounding due to lack of fill at the six corners of the head shall be reasonably uniform.
10 GAGING OF HEAVY HEX FLANGE HEAD See Table 1. The head shall be gaged using two ring gages, A and B, to demonstrate the coincidental acceptability of wrenching height, corner fill, and width across corners. Gage A shall be placed over the head and shall seat on the flange. Gage B shall be placed on the top of the head normal to the screw axis. The two gages shall not be in contact.
11 POSITION OF HEAD
At maximum material condition, the axis of the hexagon of the head shall be within a positional toler- ance zone of the diameter specified in Table 2 with respect to the axis of the shank over a distance under the head equal to the nominal screw diameter, D. The datum shall be as close to the head as practicable, but within 0.5D from the head, and shall be either wholly plain body or wholly the thread pitch diameter, not including the thread runout or the underhead fillet.
12 FLANGE
The top surface of the flange shall be conical or slightly rounded (convex). Radius, R 2 , applies both at the corners and at the flats of the hexagon. The contour of edge at flange periphery, between the maximum flange diameter, D c maximum, and the minimum bearing circle diameter, D w minimum, shall be optional provided that the minimum flange edge thickness, C minimum, is maintained at the minimum bearing circle diameter, D w minimum. 13 BEARING SURFACE The bearing surface shall be conical, 0.75 ±0.50 deg concave from the plane formed by the bearing circle diameter.
