ASME B16.48 pdf download
ASME B16.48 pdf download Line Blanks
3.2.2 System Pressure Testing. Line blanks may be subjected to system tests at a pressure not to exceed 1.5 times the 38°C (100°F) rating rounded off to the next higher 1 bar (25 psi) increment. Testing at any higher pressure is the responsibility of the user, taking into account the requirements of the applicable code or regulation.
3.2.3 Mixed Material Joints. Should either the two flanges or the line blank in a flanged line blank assembly not have the same pressure–temperature rating, the rating of the assembled joint at any temperature shall be the lower of the flange or line blank rating at that temperature.
4 DESIGN
4.1 Handle The handle or web (tie bar) maybe integral or attached to the line blank or spacer. The web and its attachment shall be capable of supporting the weight of the blank or spacerin all orientations withoutpermanentdeformation to the web.
4.2 Edge Preparation In addition to machining, flame, plasma, saw cutting, and press punching are acceptable methods for forming the inside and outside diameters of line blanks. Surfaces shall be free of projections that would interfere with gasket seating.
4.3 Facing
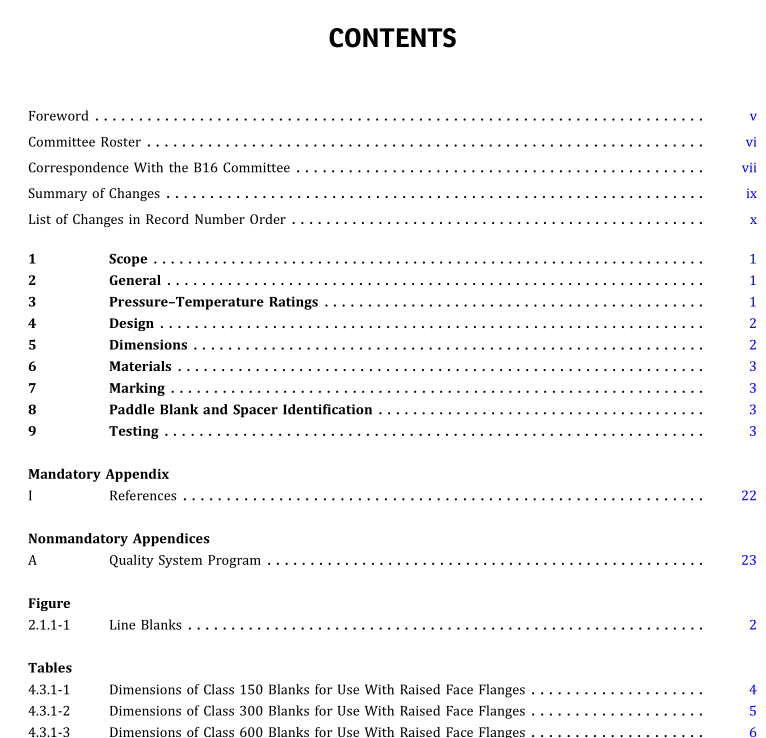
4.3.1 Raised Face Joint Blanks. The gasket-seating surface and dimensions for line blanks used with raised face flanges shall be in accordance with ASME B16.5. A raised face may be specified for these blanks at the option of the purchaser. The height of the raised faces shall be in addition to the thicknesses, t, listed in Tables 4.3.1-1 through 4.3.1-6.
4.3.2 Female Ring-Joint Blanks. Female ring-joint grooves shall be shaped with the groove side wall surfacefinishnotexceeding1.6μm(63 μin.) Raroughness. The finish of the gasket contact faces shall be judged by visual comparison with Ra standards (see ASME B46.1) andnotbyinstruments havingstylustracers andelectron- ic amplification.
4.3.3 Male Ring-JointBlanks. The gasketshape (ring) formale ring-jointblanks shall notexceed1.6 μm (63 μin.) Ra roughness. The finish ofthe gasket contact faces shall be judged by visual comparison with Ra standards (see ASME B46.1) and not by instruments having stylus tracers and electronic amplification.
5 DIMENSIONS
5.1 General Dimensions shall be in accordance with Tables
4.3.1-1 through 4.3.1-6 and 5.1–1 through 5.1-12.
5.2 Tolerances
5.2.1 Facing Tolerances. Tolerances for facings shall be in accordance with ASME B16.5.
