ASME A112.1.3 pdf download
ASME A112.1.3 pdf download AIR GAP FITTINGS FOR USE WITH PLUMBING FIXTURES, APPLIANCES, AND APPURTENANCES
5.1.2 Lower the water level so that it is no more than 0.12 in. (3 mm) below the highest level of air port opening, and apply a continuing vacuum of at least 25 in. Hg (85 kPa) while the water level is gradually lowered further. The elevation at which si- phonage ceases shall be recorded. A continuing vacuum of 25 in. Hg (85 kPa) shall then be applied as the water level is gradually raised. The elevation at which back siphonage begins shall be recorded. The lower of the two elevations shall be considered the critical level.
5.1.3 The manufacturer’s critical level mark on the fitting shall be at or below the critical level determined by this test.
5.2 Back Siphonage
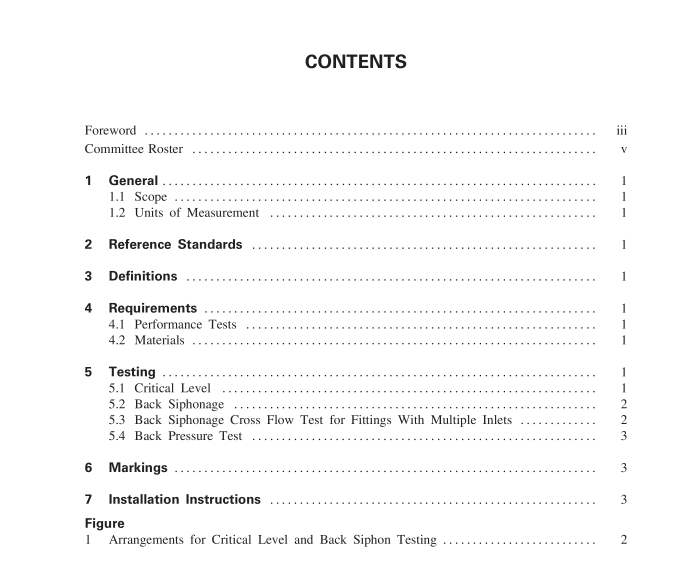
5.2.1 Test Method. The fitting shall be installed in accordance with Fig. 1 and with the manufacturer’s instructions and submerged to the manufacturer’s critical level mark. The following vacuum loads shall be applied in the sequence listed and the presence of water in the sight tube, if any, shall be noted:
(a) A vacuum of 25 in. Hg (85 kPa) shall be applied and held for a period of five (5) min.
(b) The vacuum shall be raised from 0 to 25 in. Hg (85 kPa), then shall be reduced to 0.
(c) A surge effect shall be created by operating a valve which travels between closed and fully open within 2 sec. The applied vacuum shall vary between 0 and at least 25 in. Hg (85 kPa).
(d) For devices with multiple water inlets, tests 5.2.1(a), (b), and
(c) shall be conducted on the inlets individually. The conditions at the other inlets are to include: water flowing at the manufacturer’s rated maximum, the inlet blocked, and the inlet open to atmosphere. The test matrix is to include these three conditions existing at all possible location combinations.
5.2.2 Any entrance of water in the sight tube shall be cause for the rejection of the fitting.
5.3 Back Siphonage Cross Flow Test for Fittings With Multiple Inlets
5.3.1 Test Method. Each water inlet of a device with multiple water inlets is to be individually tested as follows. The inlet is to be connected to a vacuum source with a sight tube in accordance with the dimen- sions in Fig. 1 and a continuing vacuum of at least 25 in. Hg (85 kPa) applied while specific combinations of water flows are present at the other inlets.
Test installation is to be in accordance with the manufacturer’s instructions.
The test matrix is to include all combinations of the water flow increments listed below, also including zero flow. These tests shall include the following increments of water flow: 0.031 gpm (0.117 L/min) for maximum rated flow of less than 1 gpm (3.785 L/min); 0.5 gpm (1.892 L/min) for maximum
